Pros and Cons of Iron-On vs. Sew-On Motorcycle Patches
Pros and Cons of Iron-On vs. Sew-On Motorcycle Patches | Biker Patch Guide Pros and Cons of Iron-On vs. Sew-On Motorcycle Patches Choosing the right method to attach motorcycle patches…
🎉 Free shipping on orders over $50! Use code: FREESHIP50
Your newly bought jacket certainly looks cute, but what can you do to add a little something extra to it? The bag you take to school every day is fashionable…

Your newly bought jacket certainly looks cute, but what can you do to add a little something extra to it? The bag you take to school every day is fashionable and functional, but how can you personalize it? Your team is vying for first place at the interschool theater competition, but how can you show your sense of camaraderie to your competitors?
Using a custom embroidered patches can help in each of these scenarios.
It is a simple and affordable way to give everything you own a little personality!
But before you get your creative juices flowing, you might want to read over these instructions for making custom embroidered patches.
Let’s jump right into it!
If the patch is small, it is much harder to get the fine details in the stitching. You can either reduce the level of detail or make the patch larger. But you might not be able to increase the size because of your budget or for purely aesthetic reasons.
An easy solution to this is to use bold logos with strong texts and solid colors that do not require intricate stitching but still deliver the impact.
If you still want a higher level of detail, then you might want to go with printed patches instead of embroidered patches.
Feeling tempted to embellish your patch with all kinds of design elements? We understand that you would want to express yourself and celebrate your creativity.
But keep in mind that if the patch is overloaded with visuals and text, everything may start to seem rather unkempt. In that case, it would be difficult for people to make sense of these little tokens.
The color scheme follows the same reasoning. The patch will seem murky if you use too many different colors, since then more thread and twill will be needed.
Instead, adopt a more minimalist approach and keep the message simple. After all, you can have more such patches to execute your ideas!
Make your patch design stand out more by using contrasting colors as part of your color scheme. Think red against green, orange with blue.
Also, try adding a border that uses a color from the central patch design to complement the whole patch.
Imagine how nice a pop of burnt orange would look on your white blazer! So remember to also maintain contrast with the fabric on which you will place the patch.
If you want the patch to be sewn onto a piece of fabric, then you can have a custom embroidered patch without a backing. Otherwise, there are quite a few backing options to consider.
A go-to for military units because of how easily it can be removed and reapplied. While one side of the Velcro is attached to the patch’s back, the other is sewn to the clothing. Because of this structure, patches can be taken off before laundry. This is why these patches will last longer.
A unique kind of backing called a heat seal backing will adhere the patch to the fabric when heated. However, this kind of backing will not work with nylon and other synthetic fabrics.
Your patch essentially becomes an embroidered sticker thanks to the adhesive. The patch’s back is coated with glue, which is followed by a layer of paper that may be peeled off when it’s time to utilize it. This glue will not withstand a washing cycle and will eventually lose its strength. Therefore, it is your best bet if you want the patch for a limited time.
The patch has a firm backing that helps it maintain its shape over time. The plastic is thin enough to allow you to sew your patch onto fabric and can be used on patches of every size and shape.
This last finishing touch will ensure that you achieve the aesthetic you want!
Going for a more retro vibe with a standard-shaped patch? Great, finish it off with “merrowed” borders. The thread will be stitched around the edges of the patch, making it sturdy while also visually separating it from the garment to which it is affixed.
But if the shape is more intricate and unique and you don’t want to compromise on this level of detail, then you can have hot-cut borders. These borders have been laser-cut, giving them a crisp, clean edge. They enable the adhesive to reach the edge, making them ideal for heat-seal backing.
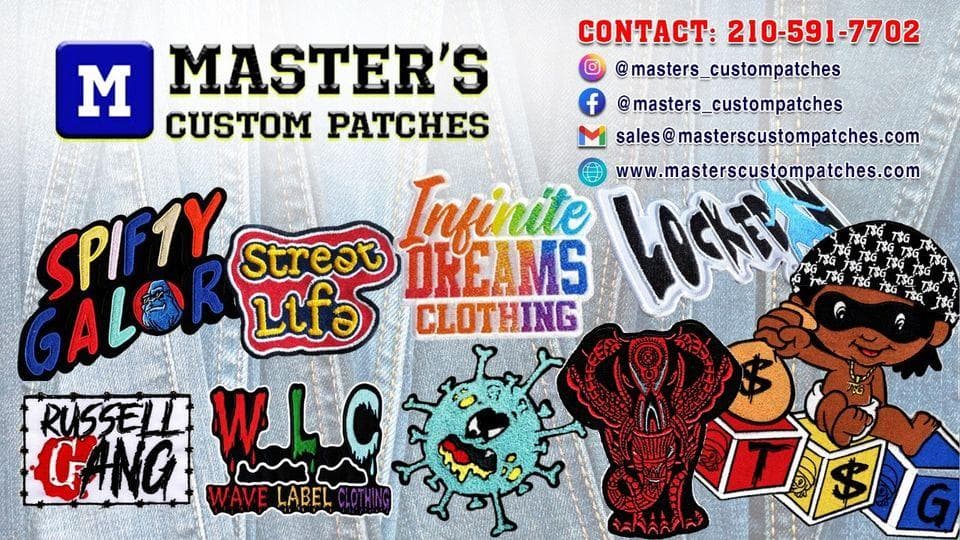
You can make these custom embroidered patches yourself from scratch, but it would take a lot of time and expertise. Alternatively, you could hire a reputable company like Master’s Custom Patches to do all the hard work for you. You just send us the picture of the graphics and other specifications and we will create the patch.
So, you can enjoy the creative process while we use our technology and experience to execute your vision.

Pros and Cons of Iron-On vs. Sew-On Motorcycle Patches | Biker Patch Guide Pros and Cons of Iron-On vs. Sew-On Motorcycle Patches Choosing the right method to attach motorcycle patches…

Top 10 Must-Have Patches for Your First Biker Vest | Essential Motorcycle Patches Top 10 Must-Have Patches for Your First Biker Vest Your first biker vest is more than just…
Top Rules of Patch Etiquette Every Biker Should Know | Motorcycle Club Patches Top Rules of Patch Etiquette Every Biker Should Know Biker patches are more than decorative emblems—they symbolize…