<strong>Hand Made Embroidered Patch Yourself</strong>
A lot of time patch lovers think how much does it cost to have patches sewn on and way to DIY at home. Here is the best step-by-step guide for making a DIY <a href="https://masterscustompatches.com/custom-patches/embroidered-patches/">embroidered patch</a> in an easy way.
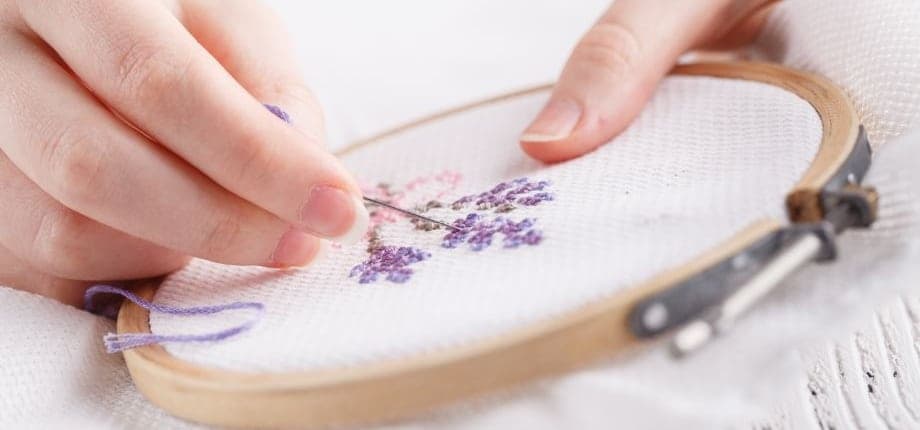
When I did, I started with yellow, as it will be the most on the patch. You can turn on the flashlight on your phone and put it down to see the sketch better.
I started at the very top where yellow will start and continued sewing down with horizontal stitches.
By the way, if you cut off unnecessary threads, then the inside turns out a little better. If you run out of thread or change color, you need to cut the thread
Then divide its tip into two equal parts. It is usually made up of 6 small strands, so you get 3 and 3, and you take one piece.
And thread it under the very last stitch and tie a double knot, first on the right then on the left; Again, trim off the excess.
And to make the next color you repeat the previous steps.
Just because now that you're done with the colors, you should add lines.
To fill them up you need to start. From the inside out Leading the needle out where you start sewing.
Keep sewing until you fill in all the lines. Once finished, remove the hoop and backing.
This is where I screwed up because I didn't have to immediately cut the patch
(apparently, he forgot to sew on the mount, not very legible)
But in general, everything turned out to be normal.
Put the fabric on the patch, because, but what if, and start ironing. Iron very carefully, All sides (just don't stick the patch to the iron).
It is time to remove the fabric that protected the iron from damage and cut off the excess fabric.
When it's dry, the last step awaits you. Piping edging starts from the inside and pulls the needle out.
Just sew. From seamy side to front stitch by stitch
<strong>JUST DO IT</strong>
Sew around the patch as close to the main picture as possible. Thus, no fabric remnants will be visible and the patch will not fray. And as before, split the thread in two and tie a knot from the back side then trim the excess and voila! You now have a patch and you can iron it anywhere now.